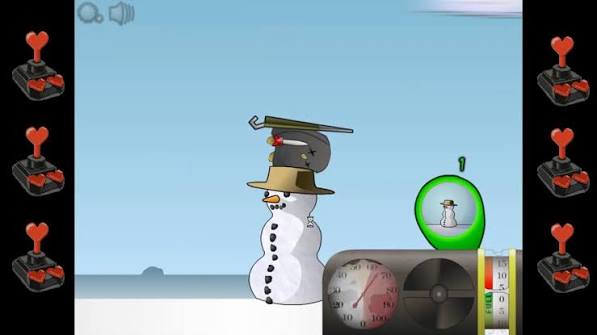
Seven upgrade types, five levels each, thirty-five purchases — and a limited budget every single day. Buy in the wrong order and you'll spend fifteen extra days grinding. Buy in the right order and the wall falls before Day 12. Here's the path we recommend after testing every major build.
The three phases of a run
Think of your run in phases: Ground phase (Days 1–3) where launch height and speed do all the work, Air phase (Days 4–8) where lift and thrust take over, and Impact phase (Days 9+) where you convert distance into wall damage.
The optimal order
- Ramp 1 → Sled 1 — cheapest distance per dollar in the game.
- Glider 1 — the single biggest jump in flight quality you'll ever buy.
- Ramp 2, Sled 2 — keep the cheap levels flowing while coins are scarce.
- Rocket 1 + Fuel 1 — thrust unlocks active flying and fuel-can pickups.
- Aerodynamics 1–2 — drag reduction is quiet but compounds on every flight.
- Glider 3, Rocket 3, Fuel 3 — your "cruise build". You should now touch 3,500m+.
- Payload 3+ — only now. Payload does nothing until you can actually reach the wall.
- Max Rocket, Fuel, Aero → finish Payload — the wall-breaker configuration.
What to skip (at first)
The Payload is the trap purchase. It multiplies wall and snowman damage but adds nothing to distance — buying it early actively slows your progress. Similarly, Ramp levels 4–5 are expensive for what they give once your glider and rocket are online; they're a late-game luxury.
The math behind it
Wall damage scales with impact speed × payload multiplier. A maxed payload multiplies damage by 5.6×, but speed is what you carry across 5,000 meters — which is why every thrust and drag upgrade you buy is secretly also a damage upgrade. Build the plane first, then bolt the anvil to it.
Follow this order and you'll typically hit the wall around Day 9, crack it hard on Day 10–11, and finish the job by Day 12. Slower than a perfect speedrun, but far more forgiving of a bad flight or two.